SkiErg training looks easier than it is. Pull two handles down, let them back up and repeat as fast as you can? Easy!
If you’ve ever done a few hundred meters on the SkiErg, you know there’s a lot more to it. Because on the SkiErg, it’s not just about strength – it’s mainly about the right technique, an efficient movement pattern and good pacing.
What Does SkiErg Training Do for You?
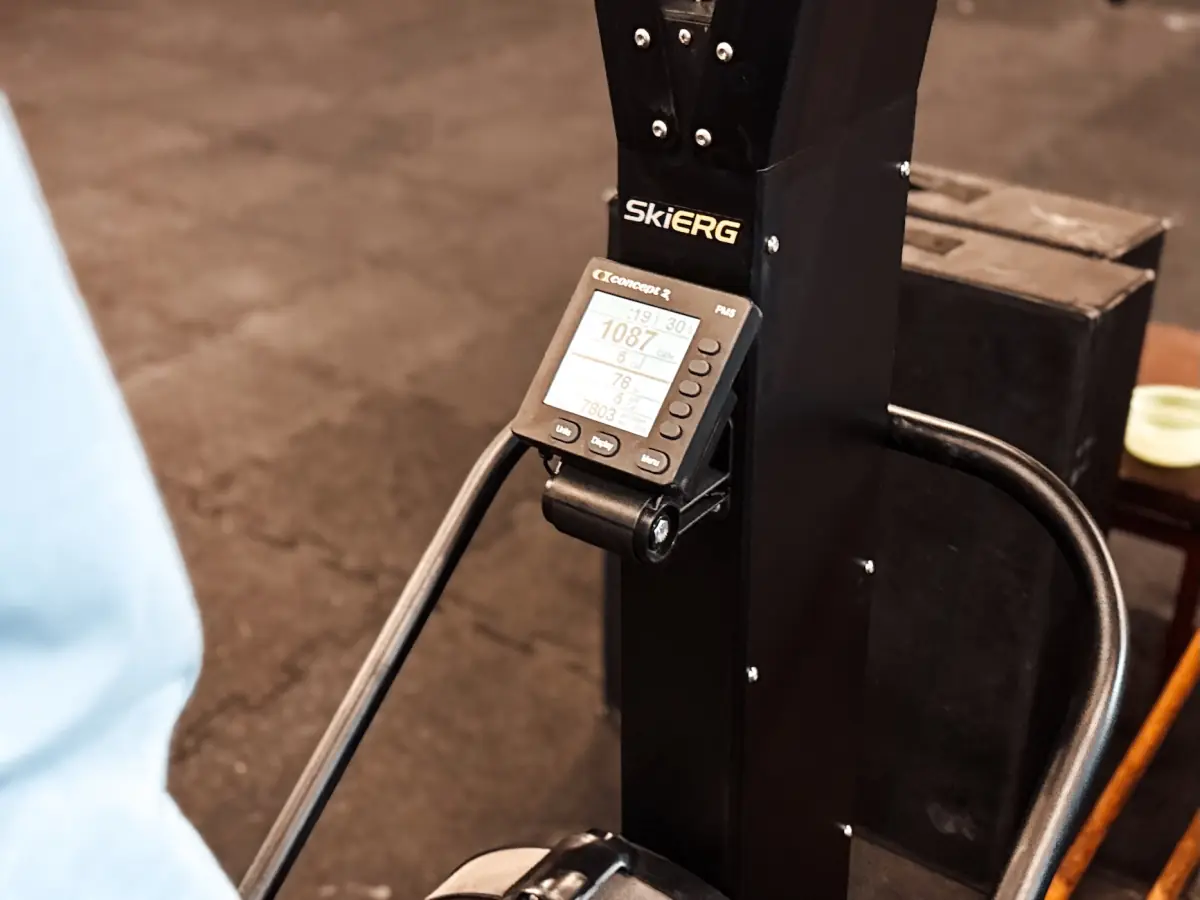
The SkiErg was developed so that the double-pole technique from cross-country skiing could be trained without snow. Today it’s a fixture in many functional fitness boxes and an essential part of HYROX races.
Unlike rowing or cycling, you stand upright on the SkiErg and generate a large part of the pulling force through your upper body and core. Your lower body still works actively too.
That makes the SkiErg a versatile piece of training equipment with a number of benefits:
- Effective endurance training: Whether short sprints or longer intervals – you can drive your heart rate up and work specifically on your aerobic and anaerobic capacity.
- Many muscle groups at once: Back, shoulders, arms, core and legs are all involved in the movement. How hard each one works also depends on your technique.
- Low impact: Since you don’t have to jump or run, there are fewer repeated impact forces than in running, for example.
- Versatile: You can use the SkiErg for warm-ups, interval training, longer conditioning sessions or as part of a metcon.
That’s especially interesting for functional fitness: the SkiErg challenges your endurance while teaching you to produce powerful, controlled movements even as fatigue builds.
Which Muscle Groups Does the SkiErg Work?
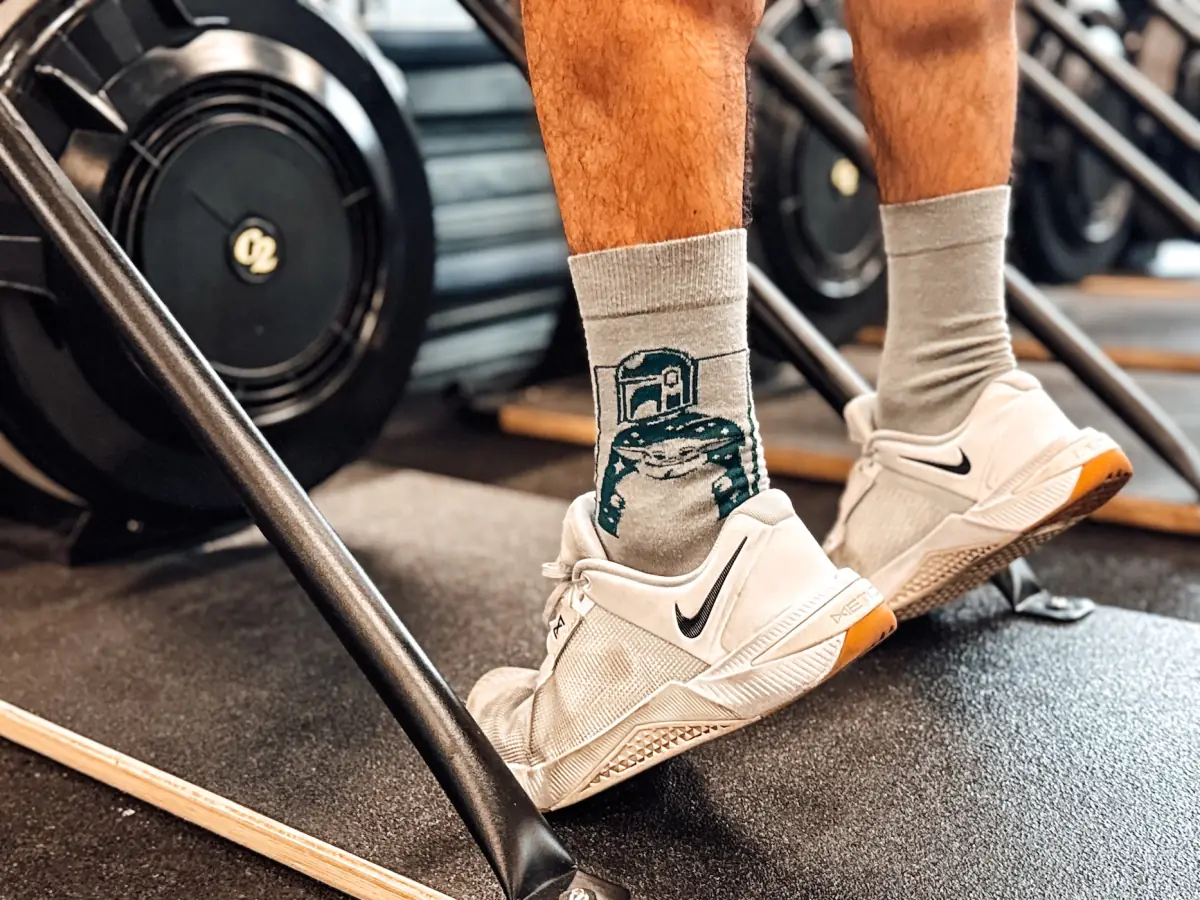
Even though the SkiErg looks like pure upper-body training at first glance, far more muscles are involved. The key is not to simply pull down with your arms, but to involve your whole body in the movement.
- Back and shoulders: The lats are among the most important muscles in SkiErg training. They support the powerful downward movement of the arms. Other muscles of the upper back and shoulder girdle also help control the pull.
- Abs and core: Your core plays a central role in transferring force. As you pull the handles down and move your upper body forward, your abs work actively. At the same time, your trunk muscles stabilize the movement.
- Arms and forearms: The triceps in particular support elbow extension during the pull phase. Your forearm muscles make sure you can hold the handles securely – something you’ll notice especially in longer workouts.
- Hips and legs: Your glutes, hip muscles and thighs are involved too. With a controlled hip hinge and a slight knee bend, you can use your lower body to support the pull.
And this has even been studied scientifically: in a 2015 study, researchers analyzed the movements of nine cross-country skiers at different intensities on a ski ergometer. They found that the trunk and lower body contribute significantly to the mechanical work and energy transfer in double poling.
SkiErg Technique: How to Use the Machine Properly
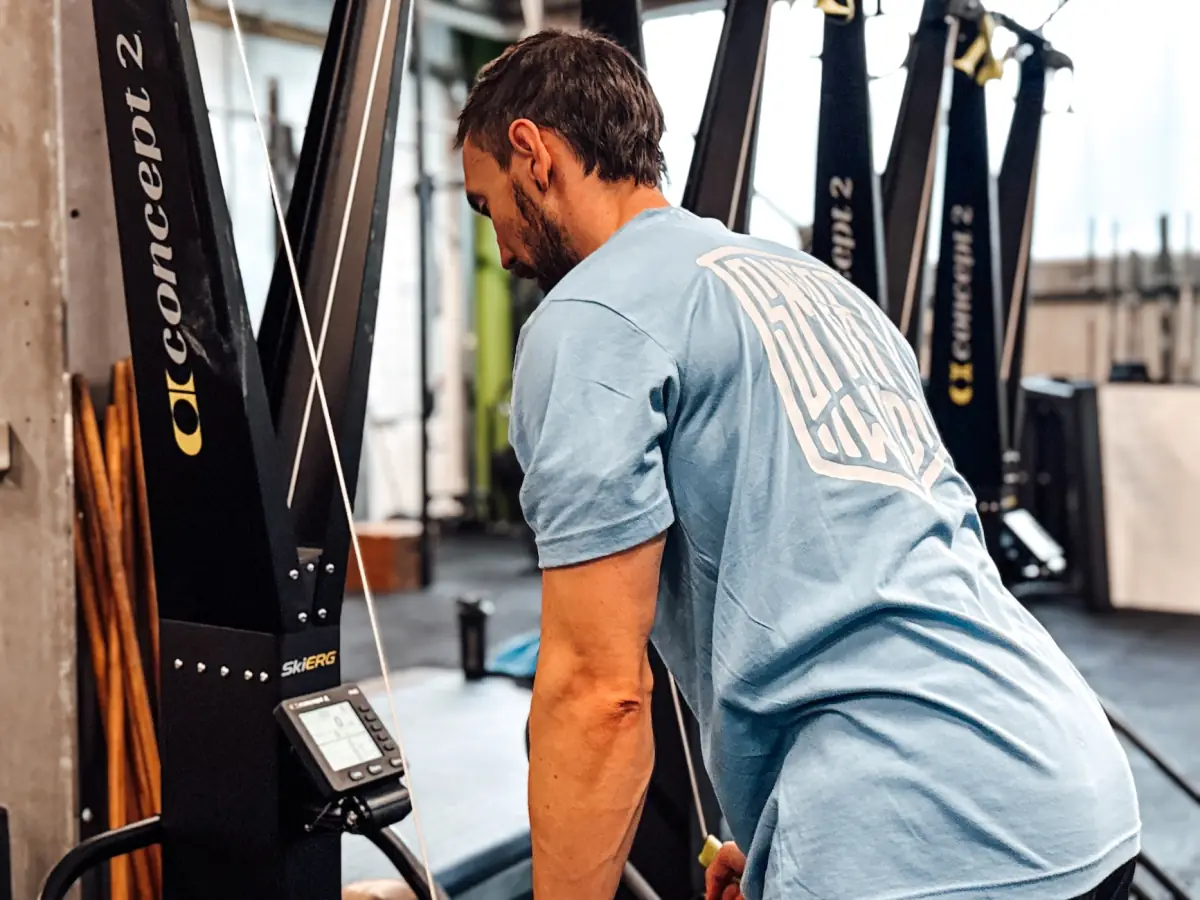
Good SkiErg technique helps you produce more power with less wasted effort. Instead of yanking frantically at the handles, you should learn to make your arms, upper body and hips work together properly.
1. The Right Starting Position
Stand about shoulder-width apart in front of the SkiErg. Your knees are slightly bent, your upper body is upright and your core is braced.
Grab both handles and bring your hands up. Your arms stay slightly bent.
Make sure you’re standing stably and have enough room to perform the movement with control.
2. The Pull Phase
Start the movement with your core as you lean your upper body forward and bring the handles down.
Support the movement with a slight knee bend. The force shouldn’t come from your arms alone.
Pull the handles down with control until your hands are roughly next to your thighs. Your elbows move back and down as you do this.
3. The Finish Position
At the end of the pull, your upper body is leaning forward, your knees are slightly bent and your hands are next to your thighs.
Avoid rounding your back too much or pulling the handles unnecessarily far back. The movement should be powerful, but not uncontrolled.
4. The Recovery
Straighten your upper body again and bring your arms back up to the starting position with control.
Use this phase to prepare for the next pull. You don’t have to actively force the handles upward. Try to find an even rhythm: pull down powerfully, return with control.
What Resistance Should You Set on the SkiErg?
A common misconception is that the highest possible damper setting automatically makes for better training.
On the Concept2 SkiErg, the damper regulates how much air gets into the flywheel housing. A higher setting changes the feel of the pull – similar to a harder gear on a bike. But it doesn’t automatically make your training more effective.
For general endurance training, Concept2 recommends a low damper range. A setting between 1 and 4 is a sensible starting point. What matters is that you can perform a powerful, fluid movement without tensing up unnecessarily on every pull.
Also keep an eye on the drag factor on the monitor. It describes the actual air resistance of the flywheel and makes different machines easier to compare than the damper number alone.
Stroke Rate or Power: Which Matters More?
More strokes per minute don’t automatically mean more power. If you just move your arms up and down as fast as possible without producing enough force on each pull, you may be wasting a lot of energy.
Instead, try to find a rhythm that combines powerful pulls with a controlled recovery.
Watch your pace on the monitor. If you increase your stroke rate but your pace barely improves, you should work on your technique rather than on even more speed.
3 SkiErg Workouts for Every Level
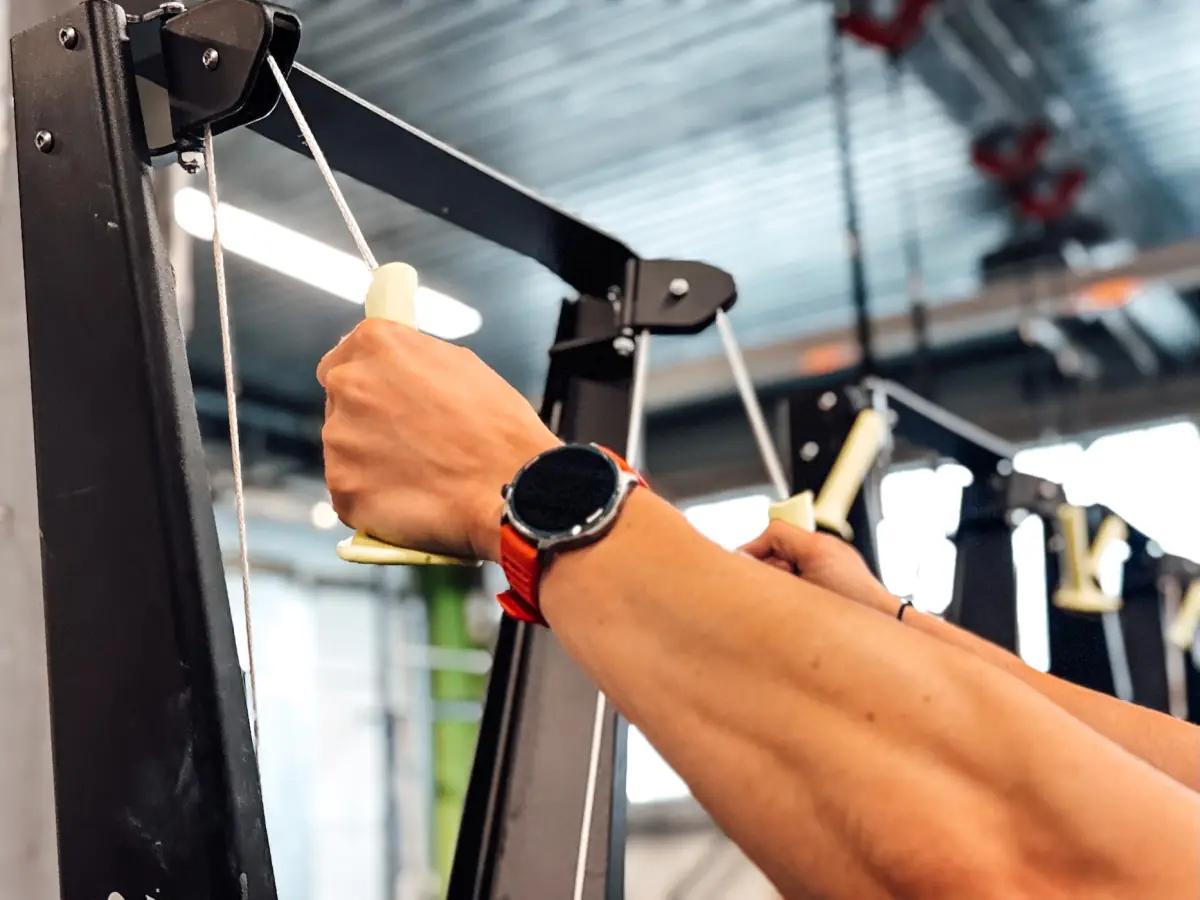
Want to improve your SkiErg technique or train your endurance in a targeted way? These three workouts let you set different training stimuli – from a controlled start to an intense functional fitness AMRAP.
Workout 1: Find Your Rhythm
6 rounds:
- 1 minute SkiErg
- 1 minute rest
Total time: 12 minutes
This workout isn’t about collecting as many meters as possible every minute. Focus instead on a clean movement pattern and an even pace.
Try to cover roughly the same distance in all six intervals. If your output drops sharply from round to round, you probably started too fast.
Training focus: Technique, rhythm and controlled endurance work.
Workout 2: Pace Yourself
8 rounds:
- 250 m SkiErg
- 1 minute rest
This one gets a little more intense. Your goal is to complete all eight intervals as consistently as possible. Don’t start at your maximum sprint speed. Choose a pace you can still hold in the later rounds.
Use the SmartWOD Timer to keep track of your intervals and rest. Then compare your 250-meter times: the more consistent you stay, the better you’ve managed your energy.
Training focus: Interval endurance, pacing and consistent output.
Workout 3: Full Body Burner
AMRAP 15 minutes:
- 200 m SkiErg
- 12 Alternating Dumbbell Snatches
- 10 Burpees
Here you combine the SkiErg with two other functional fitness movements.
The 200 meters on the SkiErg get your heart rate up before the dumbbell snatches challenge your strength endurance and coordination. The burpees then make sure your heart rate definitely won’t drop any time soon.
Try to choose a pace from the start that you can hold for the full 15 minutes. If you go all-out on the first SkiErg section, the following rounds will get pretty unpleasant.
Training focus: Conditioning, strength endurance and pacing under fatigue.
The Most Common SkiErg Mistakes – and How to Avoid Them
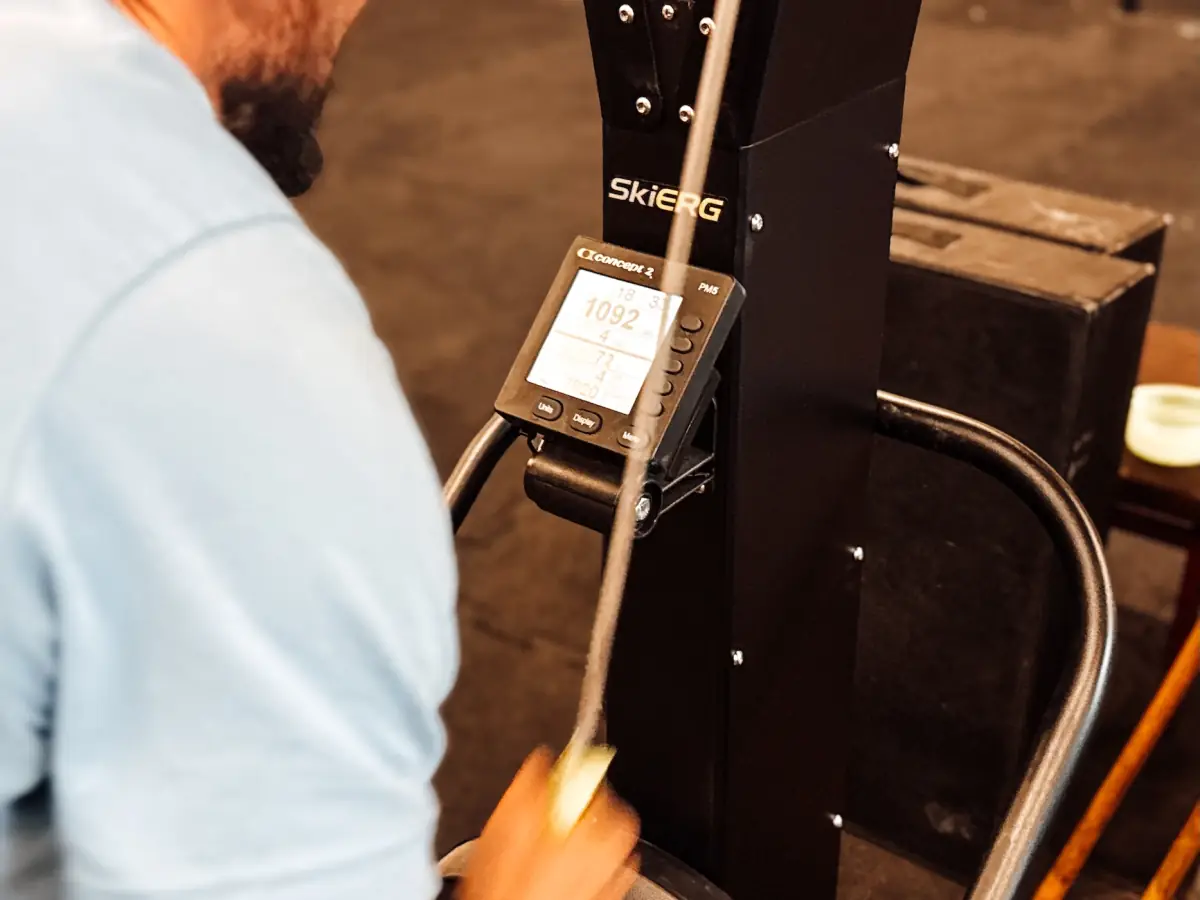
Especially when you’re trying to collect as many meters as possible as fast as possible, technique errors creep into SkiErg training easily. Here are the five you should avoid.
1. You Only Pull With Your Arms
If you do the whole movement with just your shoulders and arms, you’ll tire faster and won’t use a large part of your muscles effectively.
Better: Actively involve your upper body, core and hips in the pull.
2. You Bend Your Knees Too Much
A slight knee bend is part of the movement. But if you drop almost into a squat on every pull, you may be wasting energy and breaking your rhythm.
Better: Use a natural, controlled knee bend and focus on transferring force through your hips and upper body.
3. You Round Your Back Too Much
During longer intervals in particular, you may find yourself gradually slumping.
Better: Keep your core active and hinge forward from the hips with control instead of rounding your back heavily on every pull.
4. You Try to Pull as Fast as Possible
A high stroke rate doesn’t do much if your individual pulls produce hardly any power.
Better: Focus on powerful pulls and a controlled recovery. Watch your pace instead of only paying attention to the number of strokes.
5. You Always Set the Damper to 10
More resistance isn’t automatically better. A damper setting that’s too high can make you tire faster and hurt your technique.
Better: Choose a setting that lets you move efficiently. Use the drag factor to get a better sense of the resistance.
SkiErg Training: More Power With Every Pull
The SkiErg is much more than a machine where you pull two handles down as fast as possible. With the right technique, you can improve your endurance, work many muscle groups at once and target your performance.
Whether short intervals, longer distances or intense metcons: with the SmartWOD Workout Generator, you’ll find the right workouts for your next session. And with the SmartWOD Timer, you keep track of your intervals and rest.
So: grab those handles and show what you’ve got!